My Iterative Design Process
Project Concept
Cosplay is a creative hobby where cosplayers (people who create cosplay) recreate the costumes of fictional characters. The costumes are usually worn for conventions like Comic Con. These elaborate costumes often take hours of planning and sewing. So my goal was to create an app that could help cosplayers plan their costume's cost and fabric requirement faster.
Research
I started this project by exploring the types of sewing calculator apps that already existed. I found that most sewing apps were designed for quilters and their projects.
I also collected information on my target audience: cosplayers. I found that 64% of cosplayers were female and 60% of cosplayers were between the ages of 23 and 29.
User Testing
Round 01
User testing is when a prototype is placed in front of a user. They are then instructed to run through pre-written scenarios so that the designer can see where the flaws in their designs are. User testing involves multiple different users and multiple different rounds.
For my first round of testing, I used a paper prototype. I tested three scenarios with three different people each.
Scenario 01
You are a cosplayer designing a satin dress composed of a boat neck top with bishop sleeves, a ballgown skirt, and five small 3-hole wooden buttons. Figure out how much fabric you are going to need for your project.
Scenario 02
You are a cosplayer designing a satin dress composed of a boat neck top with bishop sleeves, a ballgown skirt, and five small 3-hole wooden buttons. Figure out how much your project is going to cost.
Scenario 03
You are a cosplayer designing a satin dress composed of a boat neck top with bishop sleeves, a ballgown skirt, and five small 3-hole wooden buttons. You have completed your project and want to share it with other app users. Figure out how to post your project to the in-app explore page.
What User Testing Round 01 Revealed
-Buttons should appear in alphabetical order so that they are easier to navigate.
-The price and yardage calculations should appear as you go along.
-Rename the cost button to "use average cost and use custom price".
-Make it more obvious where the project is going to be shared on the app.
-Make the buttons larger so that they are more legible.


Round 02
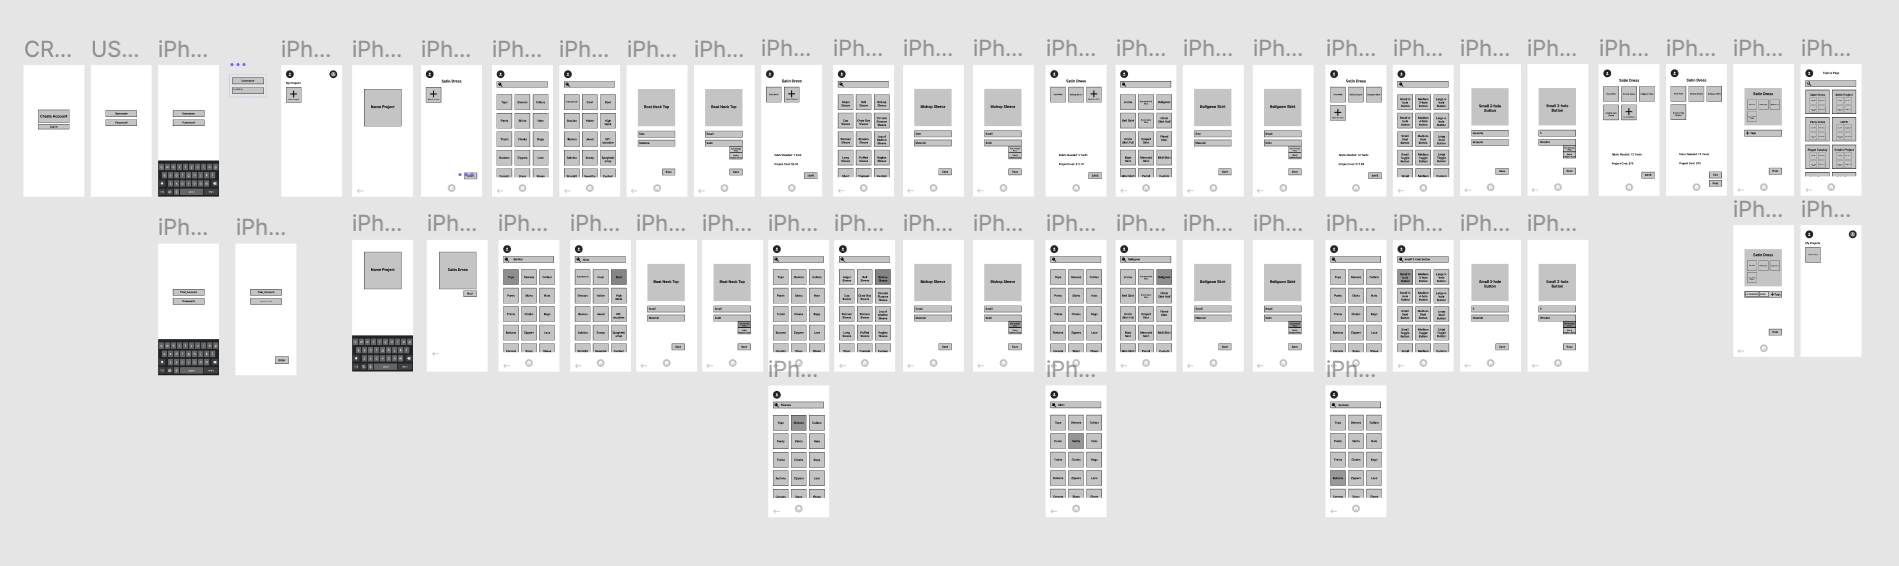
The second round of user testing was completed with a digital prototype created in Figma. Once again three scenarios were tested with three different people.
Scenario 01
You are a cosplayer designing a satin dress composed of a boat neck top with bishop sleeves, a ballgown skirt, and five small 3-hole wooden buttons. Figure out how much fabric you are going to need for your project.
Scenario 02
You are a cosplayer designing a satin dress composed of a boat neck top with bishop sleeves, a ballgown skirt, and five small 3-hole wooden buttons. Figure out how much your project is going to cost.
Scenario 03
You are a cosplayer designing a satin dress composed of a boat neck top with bishop sleeves, a ballgown skirt, and five small 3-hole wooden buttons. You have completed your project and want to share it with other app users. Figure out how to post your project to the in-app explore page.
What User Testing Round 02 Revealed
-Users were unsure if they needed to save the project before they could add another element.
-The bodice screen should be renamed to "tops".
-There needs to be a clear difference between the buttons and the info spots.
-The project cost should be renamed to subtotal.
Round 03
Between rounds of user testing the three scenarios were revised to provide more background and clarity and to remove redundancy.
Scenario 01
You are a cosplayer who has recently discovered an app that will help make designing your projects easier. The app allows you to calculate how much fabric you will need, how much the project will cost, and to interact with others in the cosplay community. You are going to use the app to plan your newest project. You are designing a satin dress composed of a boat neck top, bishop sleeves, a ballgown skirt, and five small wooden buttons along the back. Figure out how much fabric you are going to need for your project.
Scenario 02
Now you want to figure out how much your project is going to cost. Remember you are designing a satin dress composed of a boat neck top, with bishop sleeves, a ballgown skirt, and five small 3-hole wooden buttons. Figure out how much your project is going to cost.
Scenario 03
Now that you have completed your project, you want to share it with other cosplay app users. Find a way to share your project with others in the app.
What User Testing Round 03 Revealed
-Color will help to make the buttons and information clearer.
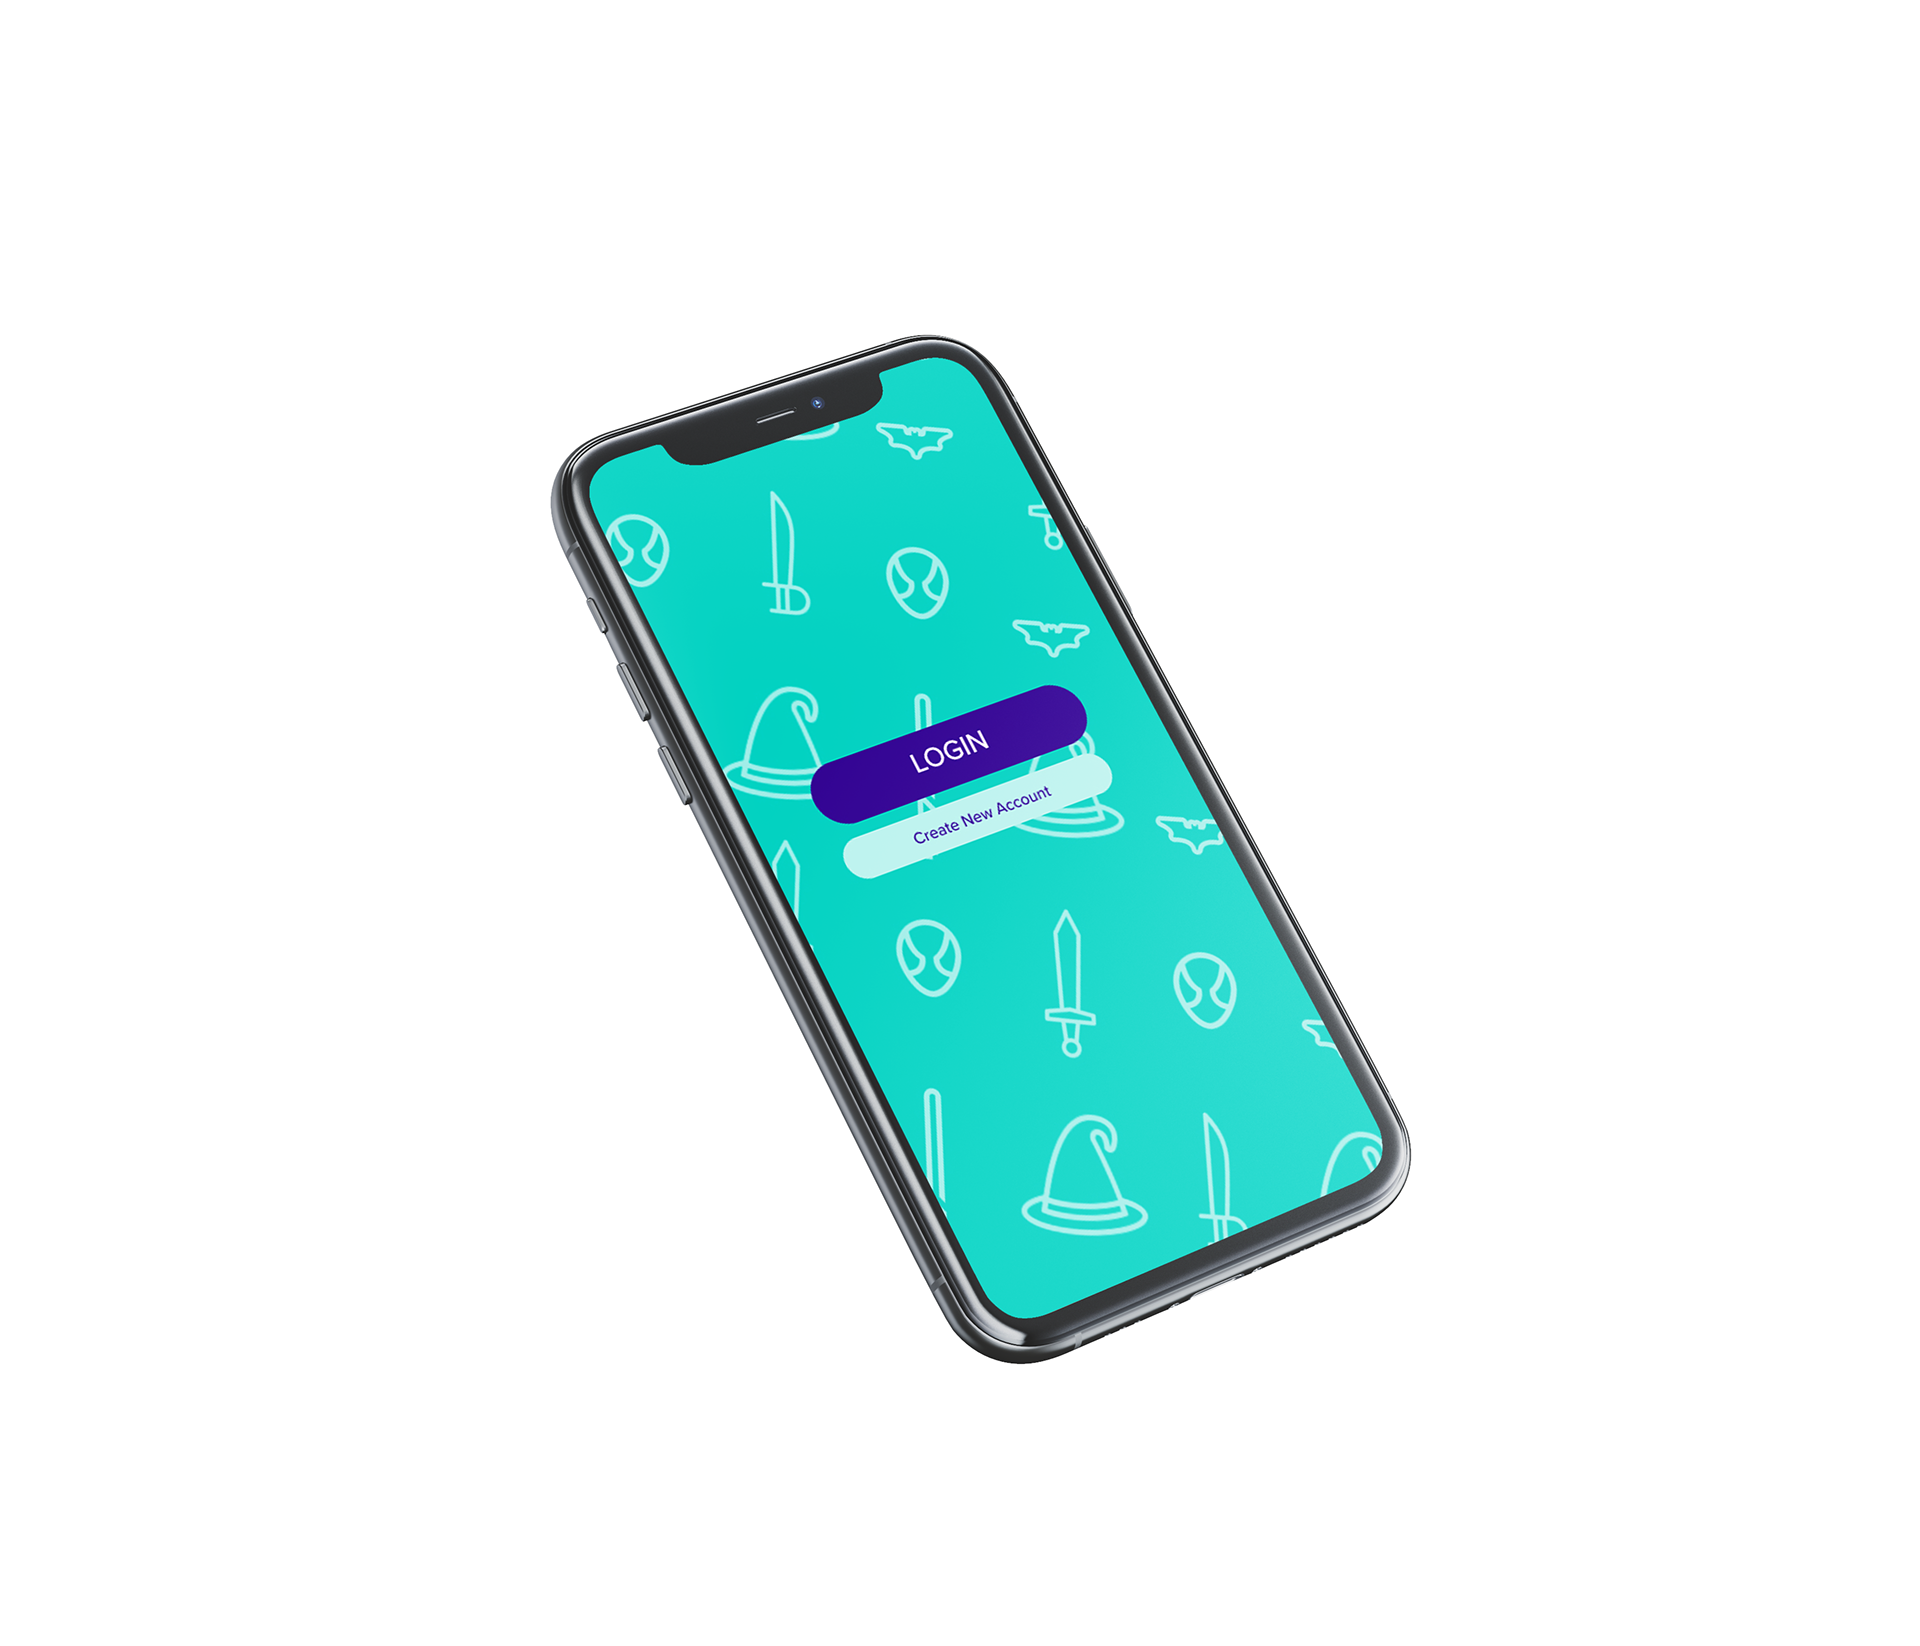
-The login button should be bigger than the create account button.
-The keyboard needs to be more obvious (add movement?).
-Make sure that the buttons are large enough to press comfortably.
Round 04
For this final round of user testing a prototype was made in Figma with UI elements such as color and icons added in. This round of user testing used the revised scenarios.
Scenario 01
You are a cosplayer who has recently discovered an app that will help make designing your projects easier. The app allows you to calculate how much fabric you will need, how much the project will cost, and to interact with others in the cosplay community. You are going to use the app to plan your newest project. You are designing a satin dress composed of a boat neck top, bishop sleeves, a ballgown skirt, and five small wooden buttons along the back. Figure out how much fabric you are going to need for your project.
Scenario 02
Now you want to figure out how much your project is going to cost. Remember you are designing a satin dress composed of a boat neck top, with bishop sleeves, a ballgown skirt, and five small 3-hole wooden buttons. Figure out how much your project is going to cost.
Scenario 03
Now that you have completed your project, you want to share it with other cosplay app users. Find a way to share your project with others in the app.
What User Testing Round 04 Revealed
-There needs to be a clear difference between the project posts and the home bar. They're the same color which makes it look like the posts are the same type of button.
-Information on the elements screen should be more organized so that it's less intimidating for users to navigate.
-The name project button should be styled differently than the clothing element button since they function differently.
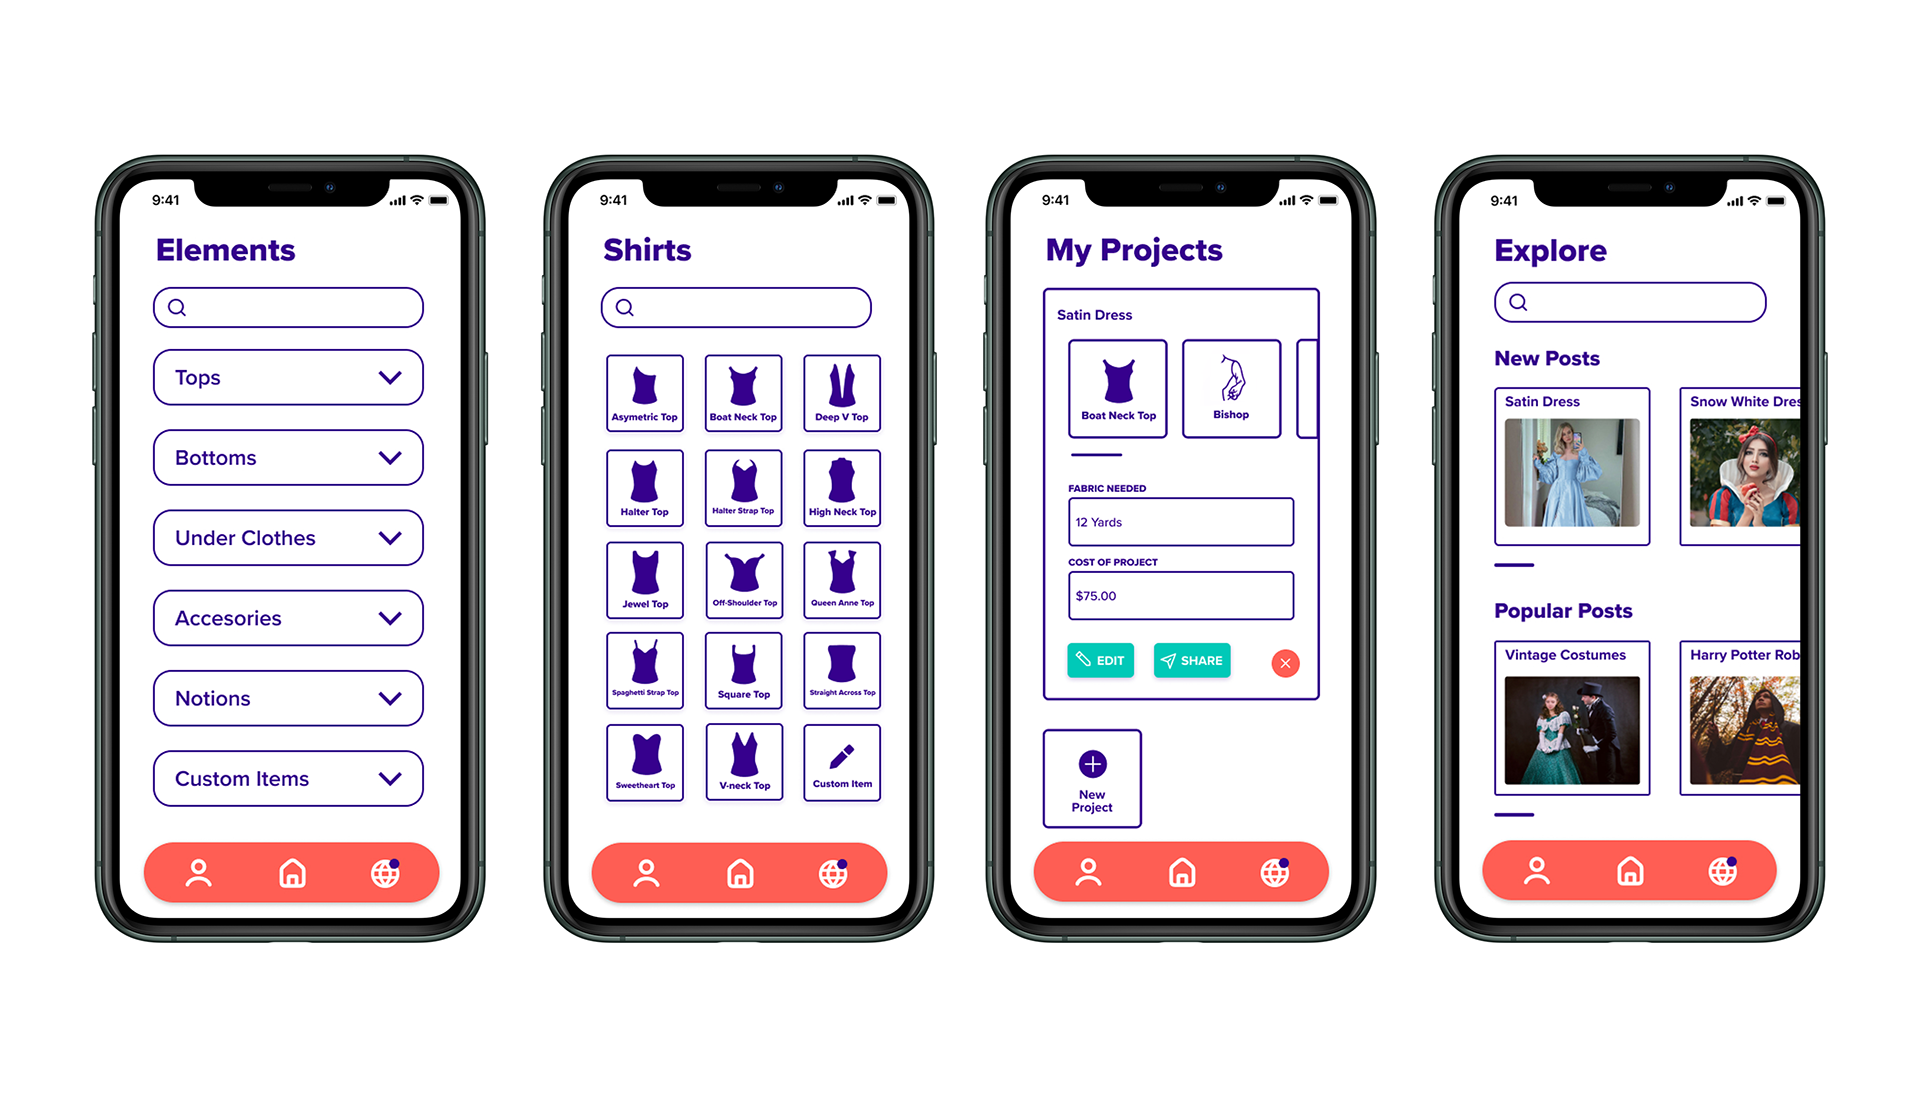
Final Product
Running Through Example Screens
The following images will show what a user would see when adding elements to a project and then sharing the project. The screens shown are just a sample and some screens have been omitted for brevity. For example, the process of adding elements is the same for the top, sleeves, skirt, and buttons so only the top is shown being added below.